
How to make a Pay Link
Got your digital product ready to sell? Well, read on…
1. Sign in to (or create) your PUSH.fm account, and head to Create New Campaign -> Pay Link.
2. In Step 1: Add Product, you do exactly what it says in the tin – add your product! Upload your digital file, making sure it doesn’t fall into any of our unaccepted content categories.
🛒 If you find that your digital file exceeds your plan’s storage allowance, you can upgrade to 50GB storage for only $5 a month.
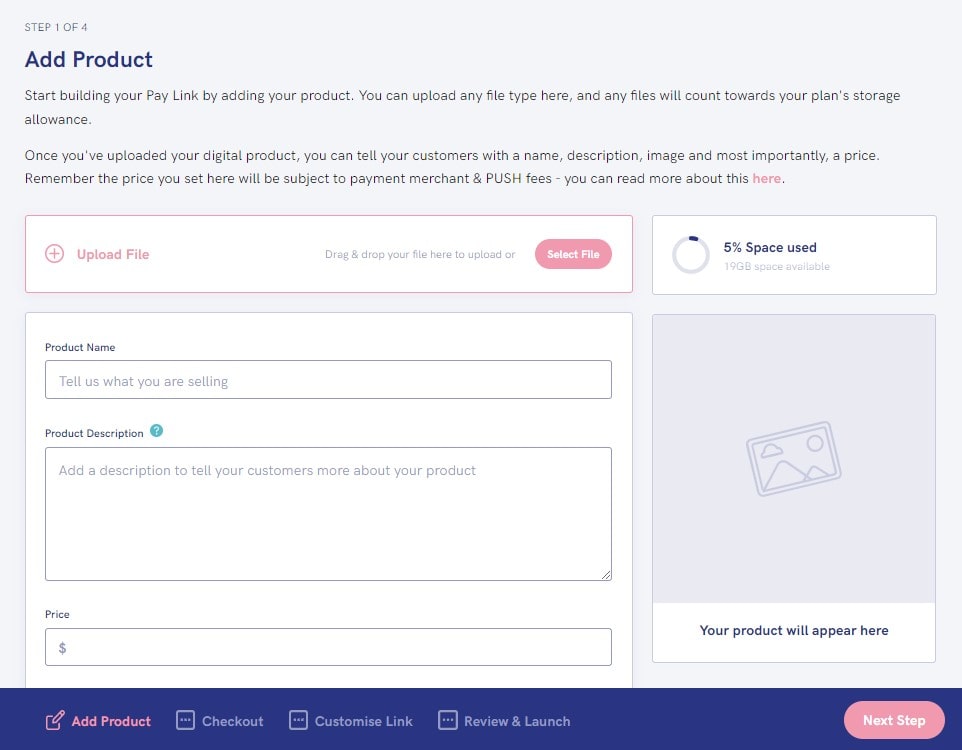
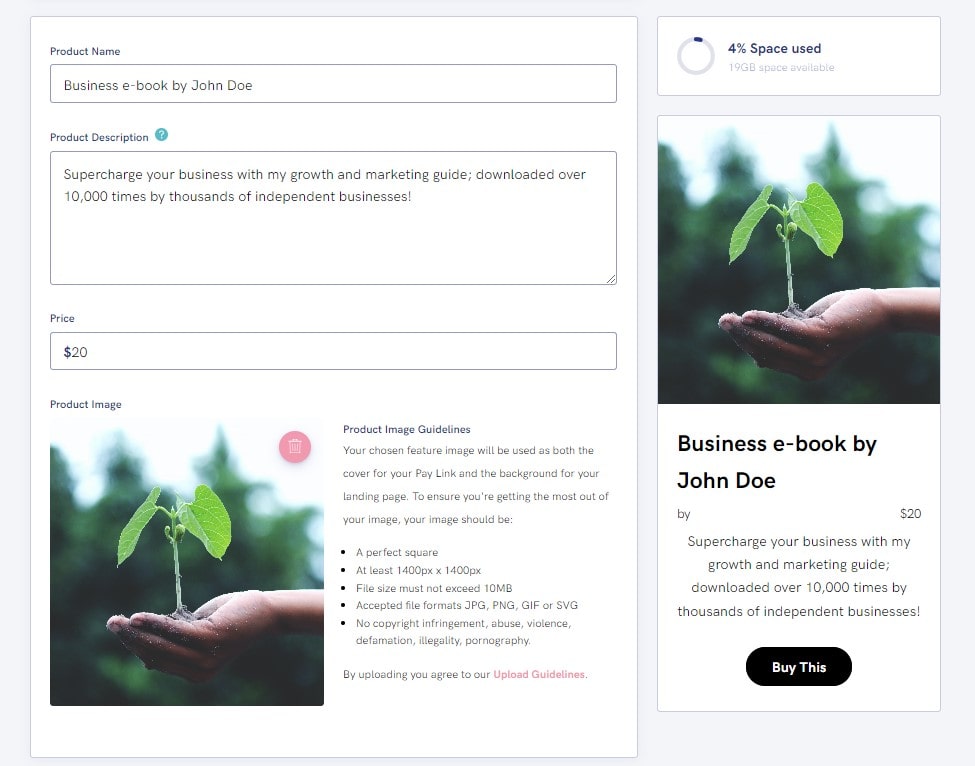
3. Next, add your product name, description, price, and feature image.
🖼️ Your feature image should be at least 1400px x 1400px, less than 10MB and a JPG, PNG, SVG or GIF.
💸 PUSH does not accept product prices below $1 or above $10,000.
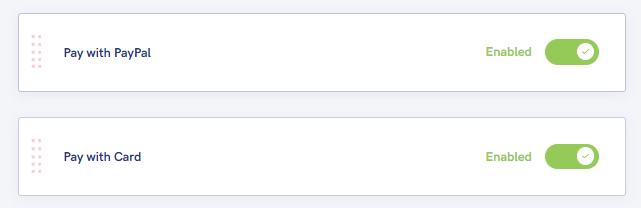
4. Then we move onto Step 2: Checkout. Choose which payment methods you want to offer your customers – the more the better!
👀 Keep your eyes peeled as we add more payment methods here in the future!
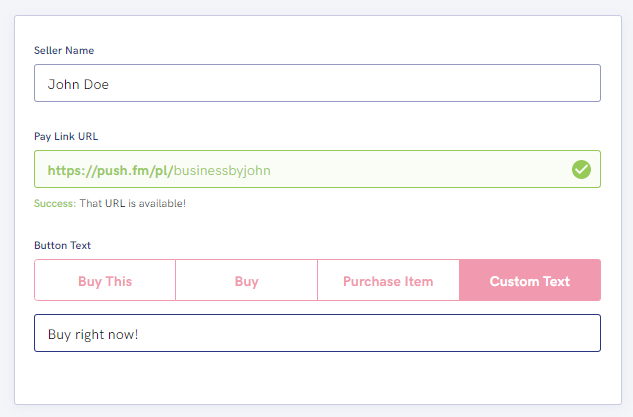
5. It’s time for Step 3: Customise! Add your seller name, choose a unique PUSH URL, and set the text you want in your button in your landing page.
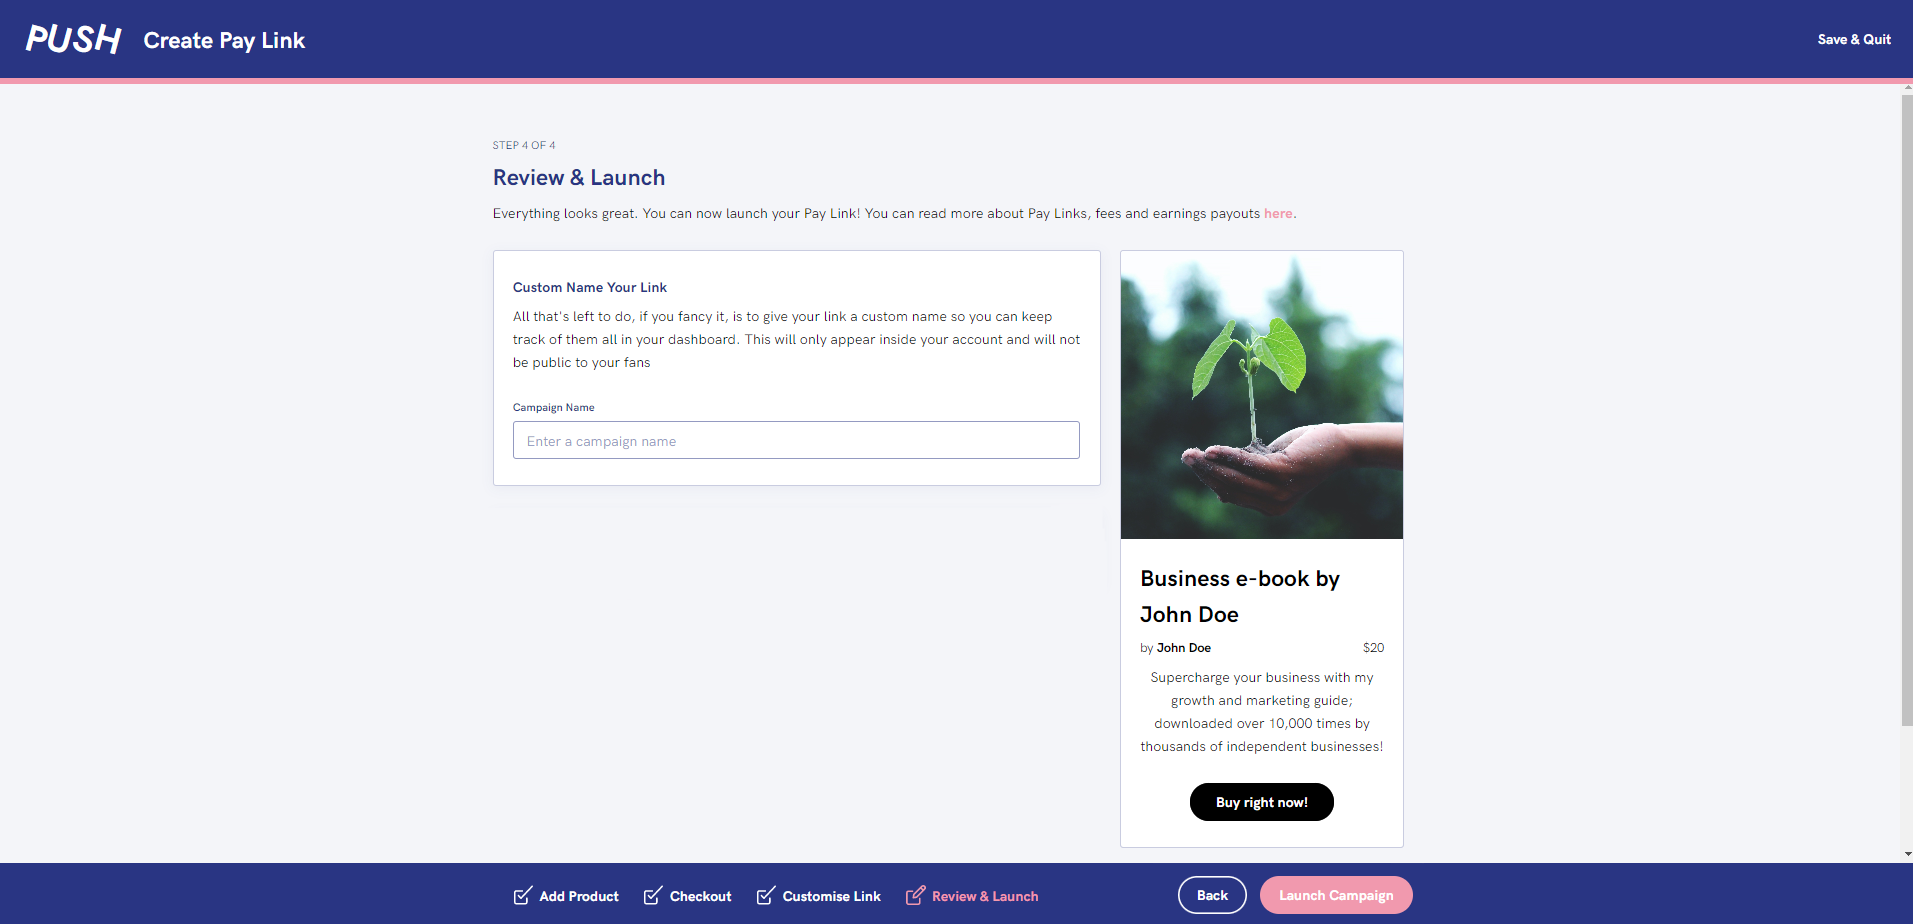
6. Finally, it’s time to 4. Review & Launch. Make sure you’re happy with how your link looks. Then, give it a custom name to refer back to later. Click launch and you’re ready to go!
See also:
How to edit a Pay Link
What can I sell in a Pay Link?
Archiving a Pay Link