
How to make a Fan Link
🔢 Making a Fan Link is as easy as 1,2,3…
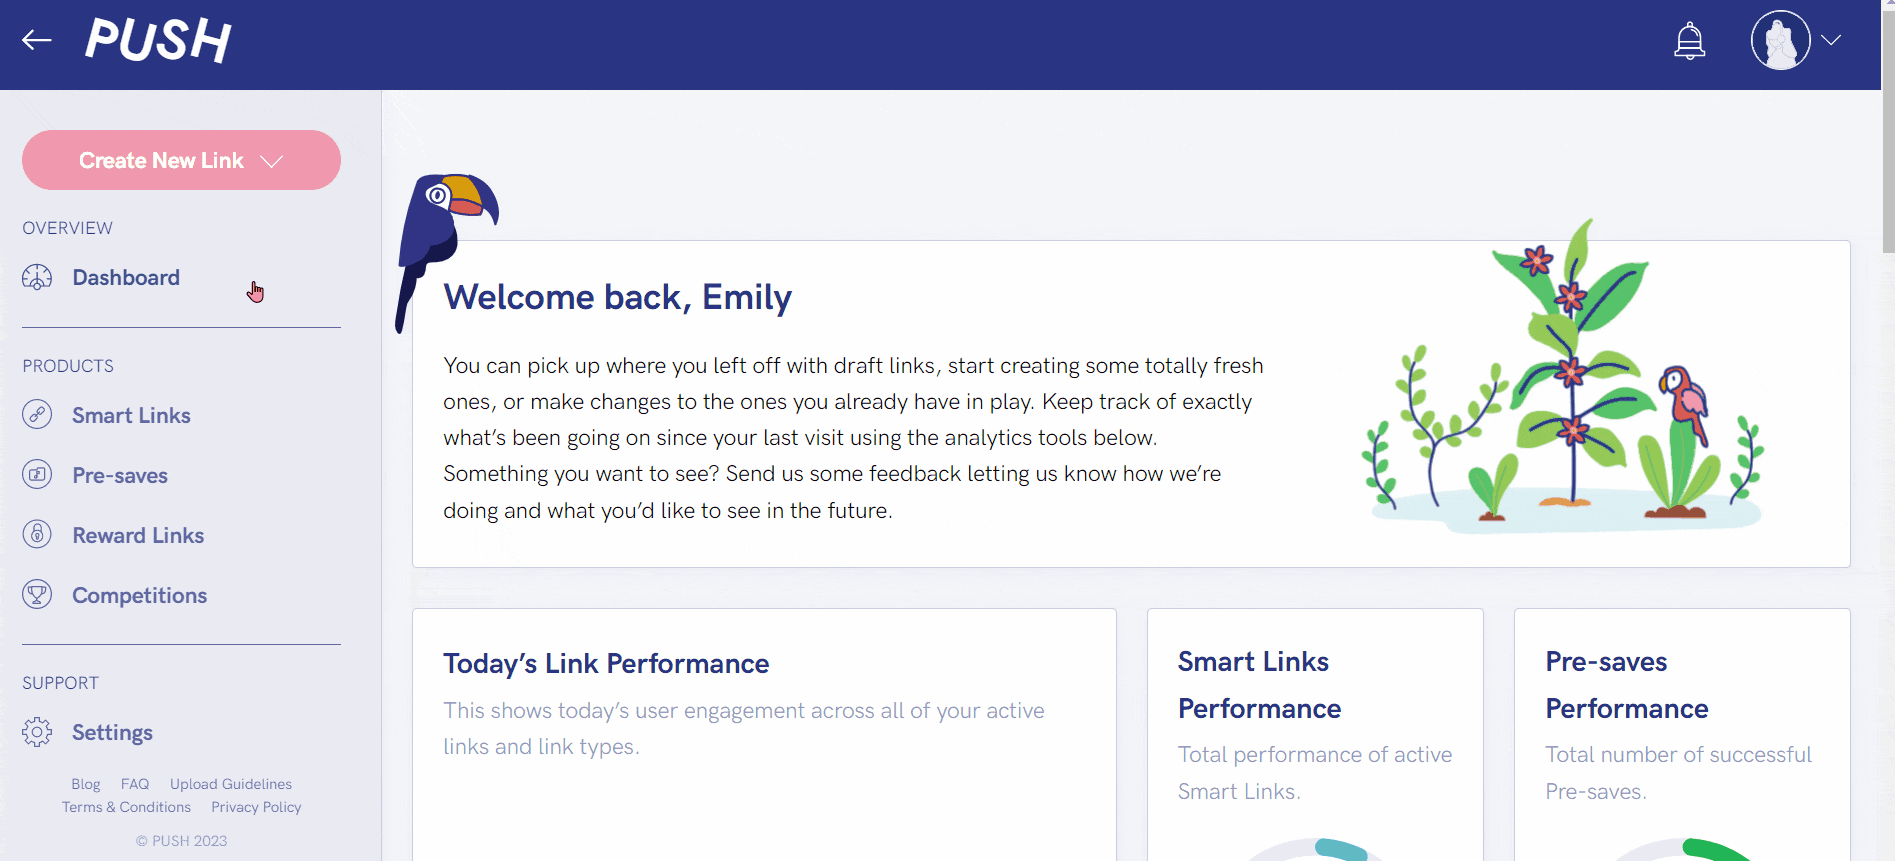
1. To create a Fan Link, you first need to make sure you’re signed up to PUSH. Once you have an account, you will be taken to your dashboard.
2. From there, you will see a pink Create New Link button in the top-left corner. Click there, and select Smart Link from the drop-down menu.
3. You’ll then be taken to the Smart Links template page. Choose Fan Link from the options presented to you 🎵
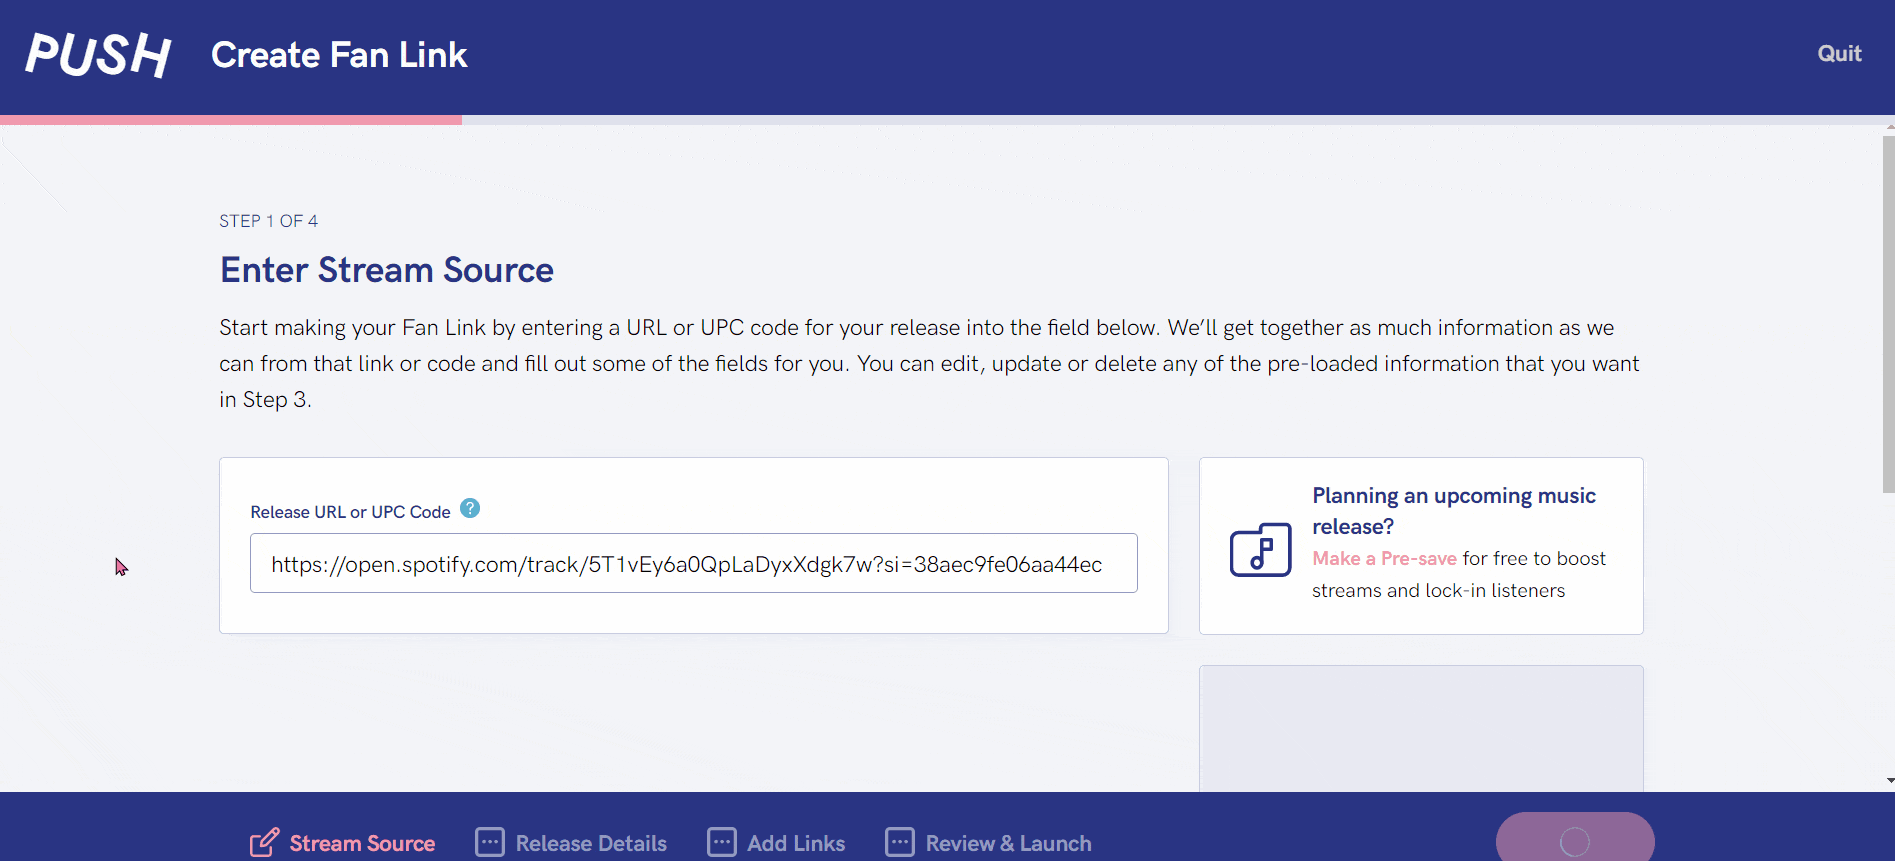
4. Next, input either a UPC, ISRC, or a streaming store URL for your release. These can be obtained from your distributor. PUSH are not responsible for your URLs.
5. Now, you can start customising your Fan Link. 🎨 Add your artist name, release title and your Feature Image . You can also add in a description and if you upgrade your account, you will be able to add a Background Image.
6. Next, it’s time to add your links 🎶 Our auto-lookup tool will have sourced all streaming platforms that have your release available. You can go through and double check they’re correct, and then decide which ones you’d like to appear within your Fan Link.
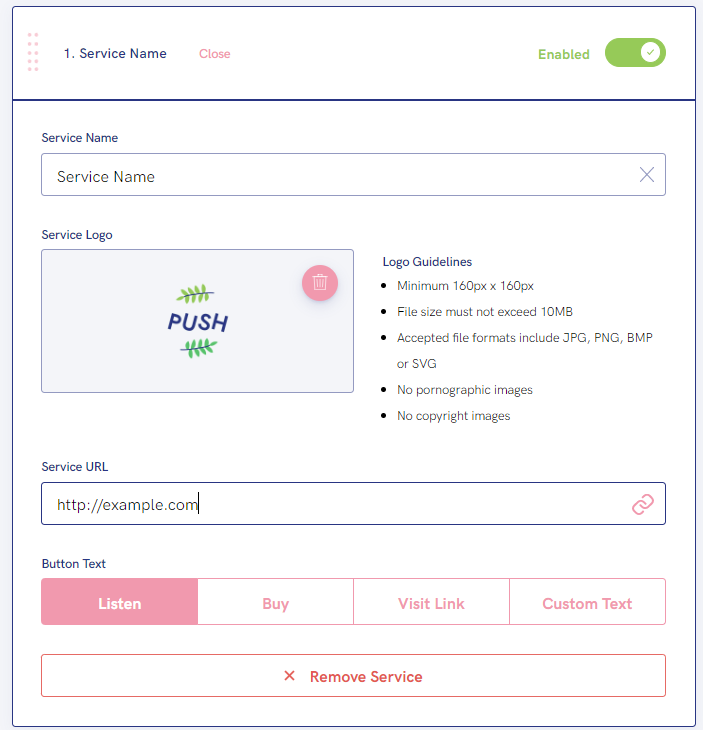
7. If you want to add your own links or platforms, click Add New Link and fill in the URL name, the URL, a logo and your button text. You can also add an Email Me button here. This will allow you to input your email address and your audience can contact you.

8. Finally, once you’re happy, double check it and launch your link – here’s a list of where you can share your Fan Link to get you started.
See also:
What is a Fan Link?
When making a Fan Link, where do you source the artwork from?
What is our auto-lookup tool in Fan Links?